
The $50 premium for a Schwalbe Marathon tire is not an expense, but an investment that yields a lower Total Cost of Ownership (TCO) for any commuter who values predictable uptime.
- Cheap tires introduce hidden costs through increased rolling resistance, leading to tangible e-bike range loss and more frequent, time-consuming roadside repairs.
- Premium tires use advanced rubber compounds and integrated protection systems (like SmartGuard) that are scientifically superior to aftermarket liners for preventing urban debris punctures.
Recommendation: If a single late arrival for work costs you more than $50 in lost wages, reputation, or stress, the investment in a premium, high-reliability tire like the Schwalbe Marathon is financially rational.
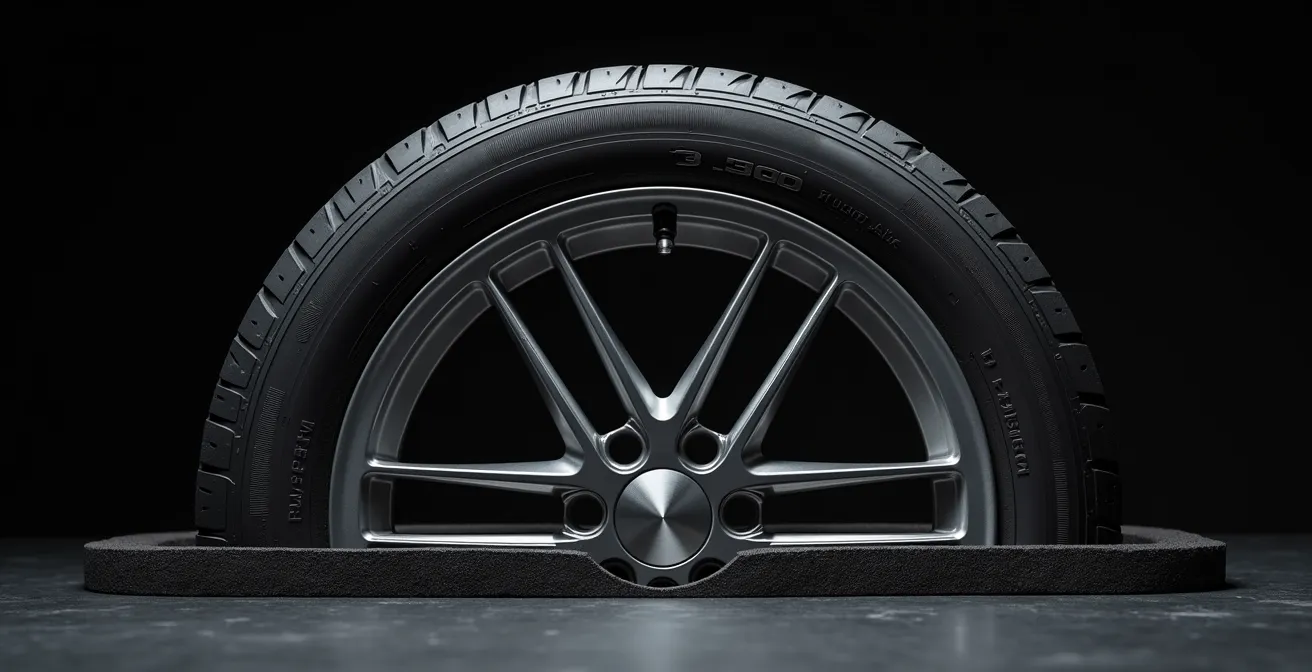
For the daily commuter, a flat tire isn’t an inconvenience; it’s a critical failure that can derail a whole day. When faced with a $70 Schwalbe Marathon versus a $20 generic tire, the immediate cost difference is stark. The common wisdom is that expensive tires offer better puncture protection, but this simplification misses the bigger picture. The decision isn’t about paying more for a tire; it’s about calculating the Total Cost of Ownership when your punctuality is on the line.
This analysis moves beyond the sticker price to dissect the hidden variables: the energy cost of rolling resistance on an e-bike, the material science of different protection systems, and the time-cost of a roadside repair. We will treat the tire not as a disposable accessory, but as a critical component in the reliability machine that is your commuter bike. The real question isn’t whether the Marathon is a better tire, but whether it’s a better investment for ensuring predictable uptime.
By quantifying the trade-offs and analyzing failure modes, we can build a clear financial case. This guide will break down the core performance factors, from battery consumption to installation mechanics, to determine if that extra $50 truly buys you the reliability a daily rider cannot afford to be without.
Summary: Schwalbe Marathon vs Generic: A Cost-Benefit Analysis for Commuters
- Why Heavy Puncture Protection Might Reduce Your Battery Range by 5%?
- Why Soft Tires Are Silent Range Killers Costing You 5 Miles per Charge?
- The Error of Under-Inflating Hard Tires That Leads to Pinch Flats
- Tire Liners vs Built-In Guard: Which Is Better for Urban Glass Debris?
- How to Install Stiff E-Bike Tires Without Breaking Your Tire Levers?
- Tube Swap vs Patch Kit: Which Is Faster on a Heavy E-Bike?
- When to Use a Tubeless Plug vs Changing the Tube on a Rear Hub Motor?
- The 15-Minute Weekly Inspection Routine That Prevents 80% of Roadside Breakdowns
Why Heavy Puncture Protection Might Reduce Your Battery Range by 5%?
The primary function of a tire like the Schwalbe Marathon Plus is to prevent flats, and it achieves this through a thick, 5mm layer of proprietary rubber called SmartGuard. This protection, however, has a direct cost in energy efficiency due to increased rolling resistance. Rolling resistance is the energy lost when a tire deforms as it rolls. More material and a stiffer construction mean more energy is required to maintain speed. For an e-bike commuter, this translates directly into reduced battery range.
An e-bike’s motor must overcome this resistance with every rotation of the wheel. While a generic, lighter tire may have less inherent resistance, it offers minimal protection. The Marathon Plus presents a calculated trade-off: unparalleled puncture defense at the cost of higher energy consumption. This is a crucial factor in the Total Cost of Ownership calculation for an e-bike rider, where every mile of range matters.
To quantify this, we can look at comparative data. The table below illustrates the measurable differences in rolling resistance and weight between the high-protection Marathon Plus and other models. As you can see, the added security comes with a physical penalty that directly impacts performance.
| Tire Model | Rolling Resistance (watts at 28.8km/h) | Weight per Tire | Puncture Protection Score |
|---|---|---|---|
| Schwalbe Marathon Plus | 20% higher than Marathon | 898g (35c) | 7/7 (SmartGuard 5mm) |
| Schwalbe Marathon (GreenGuard) | Baseline reference | 730g (35c) | 5/7 (GreenGuard 3mm) |
| Generic Tire (estimated) | 10-15% higher than Marathon | 500-600g | 2-3/7 (basic protection) |
A real-world test conducted by a Magnum Metro+ e-bike owner confirmed this principle, finding that simply increasing tire pressure from 43 to 80 psi significantly improved battery range by reducing the tire’s deformation. This demonstrates that while the tire’s construction sets a baseline for rolling resistance, proper maintenance is critical to optimizing the efficiency you do have. The decision to use a heavy-duty tire is thus a conscious choice to prioritize predictable uptime over maximum possible range.
Why Soft Tires Are Silent Range Killers Costing You 5 Miles per Charge?
While a heavy-duty tire has inherently higher rolling resistance, the single greatest contributor to range loss is often user-controlled: under-inflation. A soft tire, regardless of its quality, deforms excessively under the rider’s weight, creating a larger contact patch and requiring the motor to expend significant energy just to overcome the tire’s own drag. This effect is especially pronounced on cheaper tires with less sophisticated rubber compounds and weaker sidewall construction.
A soft, cheap tire deforms excessively under load, like running on memory foam. Your motor isn’t just pushing you forward; it’s constantly fighting to pull the tire out of the dent it creates in itself.
– Technical Analysis, Bicycle Rolling Resistance Laboratory Testing
This “memory foam” effect is a silent killer of efficiency. The motor’s power, which should be propelling you forward, is instead wasted on continuously reshaping the tire. The financial implications are direct and measurable. For an e-bike commuter, this isn’t a trivial matter of performance; it’s a tangible cost. Studies show that low tire pressure can reduce e-bike range by 12.5%, which can easily equate to 5 miles lost on a typical 40-mile battery charge. Over a year of daily commuting, this adds up to significant charging cycles and potential “range anxiety” on longer trips.
Therefore, while a generic tire might seem cheaper upfront, its poor structural integrity when even slightly under-inflated makes it a very expensive proposition in terms of energy consumption. A premium tire like the Marathon, with its robust sidewalls and advanced compound, maintains its shape more effectively under load, providing a more consistent and efficient rolling performance even if the pressure is not absolutely perfect. This consistency is a key part of its value proposition, offering a buffer against the real-world neglect of daily use.
The Error of Under-Inflating Hard Tires That Leads to Pinch Flats
Beyond killing your range, under-inflation is the primary cause of one of the most common and frustrating types of flats for urban commuters: the pinch flat. This occurs when the tire is compressed so forcefully against the rim—typically from hitting a pothole or curb—that the inner tube is pinched and punctured between the tire and the two edges of the rim. It is often called a “snake bite” because it creates two parallel holes.
A properly inflated tire, especially a stiff one like the Marathon, has enough air pressure to act as a robust cushion, resisting deformation and preventing the rim from ever making hard contact. When under-inflated, that structural cushion collapses. The risk is not trivial; running tires 15-20 psi below the recommended pressure can increase the likelihood of a pinch flat by a staggering 300%. For a commuter, this is an unacceptable risk to predictable uptime.
The irony is that many riders intentionally under-inflate stiff tires hoping for a more comfortable ride, inadvertently trading a small amount of comfort for a massive increase in failure risk. The robust construction of a premium tire is designed to be run at higher pressures. Maintaining this pressure is the single most effective way to prevent this type of failure mode. It’s a simple maintenance task that directly translates into reliability.
Action Plan: Weekly Pressure Check Protocol
- Gauge Check: Use a dedicated pressure gauge weekly. The “thumb test” is completely unreliable on stiff, puncture-resistant tires as they will feel hard even when dangerously under-inflated.
- Load Adjustment: Add approximately 5 PSI for every 20 lbs (about 9 kg) of cargo or personal gear you carry to compensate for the additional load on the tire structure.
- Target Pressure: For urban commuting, maintain pressure in the upper 75% of the tire’s specified range (e.g., 80-85 PSI for a tire rated 65-90 PSI) to maximize pinch flat resistance.
- Front/Rear Differential: Run the front tire 2-3 PSI lower than the rear. This improves steering control and comfort without significantly compromising pinch flat protection on the less-loaded wheel.
- Record and Repeat: Once you find your ideal pressure for your load and comfort, write it down. Consistency is the key to preventing flats and avoiding premature tire wear.
Tire Liners vs Built-In Guard: Which Is Better for Urban Glass Debris?
When seeking to upgrade a generic tire, a common and seemingly cost-effective solution is to add an aftermarket tire liner—a thick plastic strip that sits between the tire and the tube. The logic is to add a physical barrier against punctures. However, when compared to an integrated system like Schwalbe’s SmartGuard, this approach reveals significant flaws in terms of effectiveness and long-term reliability.
A built-in guard is engineered as part of the tire’s structure. The SmartGuard layer is made from a highly elastic rubber that actively repels sharp objects like glass shards and thorns. An aftermarket liner, by contrast, is a foreign object inside the tire. It can shift over time, creating unprotected spots. More critically, the edges of the plastic liner can chafe against the inner tube, eventually causing an abrasion flat—the very problem it was meant to solve. This introduces a new, unpredictable failure mode.
A long-term test by an urban cyclist highlights this difference starkly: after 3,000 miles of commuting on glass-strewn streets with Marathon Plus tires, zero punctures were reported. The same rider previously experienced monthly flats using generic tires combined with aftermarket liners. For a commuter, this difference between near-certainty and monthly risk is the entire value proposition.
| Protection Method | Effectiveness | Weight Penalty | Maintenance | Common Issues |
|---|---|---|---|---|
| Built-in SmartGuard (Marathon Plus) | 7/7 – Stops glass, thorns, nails | 170g extra per tire | None – integrated system | Higher initial cost |
| Aftermarket Tire Liners | 4/7 – Good for small punctures | 100-150g per wheel | Can shift, requires repositioning | Can cause tube abrasion, installation difficulty |
| Sealant in Tubes | 3/7 – Small holes only | 30-60ml liquid weight | Refresh every 2-7 months | Can dry out, messy failures |
| Generic Tire Protection | 2/7 – Basic tread only | Minimal | None | Frequent flats, sidewall vulnerability |
The data from Schwalbe’s own technical documentation confirms the superiority of an integrated system. While liners offer a moderate improvement over a basic tire, they do not approach the level of security provided by a system designed from the ground up to defeat common urban debris. The higher initial cost of the Marathon Plus is, in effect, payment for eliminating the maintenance and failure risks associated with add-on solutions.
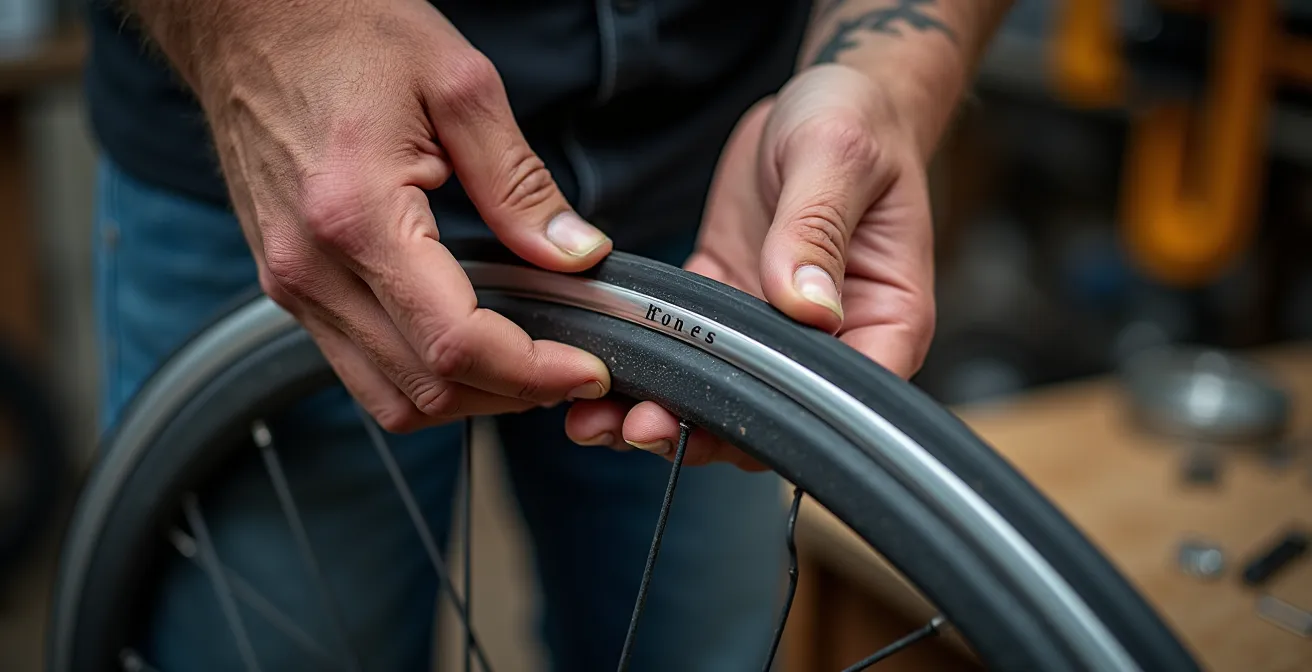
How to Install Stiff E-Bike Tires Without Breaking Your Tire Levers?
One of the most frequent complaints about high-protection tires like the Schwalbe Marathon is their notorious difficulty during installation. The stiff bead and rigid sidewalls that make them so durable also make them a challenge to mount on a rim. Many riders, out of frustration, resort to excessive force with tire levers, often breaking the levers or, worse, pinching the new tube during installation.
The key to success is not brute force, but technique. The critical step is to ensure that the tire’s bead is sitting in the center channel of the rim throughout the process. The rim’s diameter is smallest in this central trough. By keeping the already-seated portion of the bead in this channel, you create just enough slack on the opposite side to pop the final, tight section of the bead over the rim wall with minimal effort, often using just your thumbs.
It’s essential to reframe the difficulty. The stiffness you are fighting is a feature, not a bug. It is a direct manifestation of the tire’s structural integrity, which is what protects your rim from pothole impacts and prevents the pinch flats discussed earlier. This perspective is perfectly articulated by bicycle repair experts.
The stiffness you fight during installation is the same structural integrity that protects your rim from potholes and prevents pinch flats. You are installing confidence.
– Brendon Nicholas, Silk Road Cycles – Bicycle Repair Expert
By mastering the center-channel technique, you transform the installation from a fight into a process. It requires patience but ensures you don’t damage the tire, tube, or rim, preserving the very reliability you paid for. Using a small amount of soapy water on the bead can also act as a lubricant for the final stubborn section, further reducing the force required.
Tube Swap vs Patch Kit: Which Is Faster on a Heavy E-Bike?
Even with the best tires, a puncture can eventually happen. When it does, a commuter’s priority is singular: get moving again as fast as possible. The classic debate is whether to use a patch kit or swap in a new tube. For a heavy e-bike on the side of the road, the answer is unequivocally clear: a tube swap is the superior method for speed and reliability.
Patching a tube is a multi-step process: find the minuscule hole (often difficult in low light or bad weather), abrade the surface, apply vulcanizing fluid, wait for it to become tacky, and apply the patch under pressure. Rushing any step can lead to a failed patch and a second flat minutes down the road. This entire process is made more difficult by the bulk and weight of an e-bike.
A tube swap, by contrast, is a predictable mechanical procedure. While removing the wheel—especially a rear wheel with a hub motor—takes time, the fix itself is guaranteed. You simply replace the compromised tube with a new one. The total time is consistently in the 10-15 minute range for an experienced person, whereas a patch job can easily take 25 minutes or more, with a lower success rate.
| Repair Method | Time Required | Success Rate | Best Conditions | Equipment Needed |
|---|---|---|---|---|
| Tube Swap | 10-15 minutes | 100% if done correctly | All weather, all puncture types | Spare tube, tire levers, pump |
| Patch Kit | 15-25 minutes | 85% (can fail if rushed) | Dry weather, small holes only | Patches, glue, sandpaper, pump |
| Tubeless Plug | 2-5 minutes | 70% (size dependent) | Small to medium punctures | Plug kit, pump |
| Emergency Knot Method | 5 minutes | 30% (emergency only) | Get-home temporary fix | Knife, pump |
The optimal strategy for a commuter is to always carry a spare tube for the guaranteed roadside fix. The punctured tube can then be taken home and patched in a clean, well-lit environment, becoming the spare for the next trip. This approach minimizes roadside downtime and maximizes predictable uptime.
Checklist: The Optimal E-Bike Flat Repair Strategy
- Prioritize Swapping: Always carry at least one spare inner tube that matches your tire size. This is your primary roadside solution for a guaranteed fix.
- Prepare for Removal: Before attempting to remove a hub motor wheel, ensure you have disconnected the motor cable (if it has a quick-disconnect) and removed any torque arm bolts.
- Gear Selection: Shift the chain onto the smallest rear cog before removing the wheel. This provides maximum clearance and simplifies reinstallation.
- Protect Components: If you must flip the bike over, use a blanket or a patch of grass to protect the handlebar display, controls, and saddle from damage.
- Patch at Home: Save the patch kit for at-home use. Repairing the punctured tube in a controlled environment is far more reliable and turns it into a ready-to-go spare.
When to Use a Tubeless Plug vs Changing the Tube on a Rear Hub Motor?
The rise of tubeless technology offers a compelling alternative: for small punctures, a sticky “plug” can be inserted into the tire in under two minutes without removing the wheel. This seems like the ultimate solution for a time-crunched commuter. However, in the context of a heavy e-bike with a rear hub motor, the reality is more complex, and sticking with a traditional tube setup often remains the more reliable choice.
Tubeless plugs are highly effective for small, clean punctures from thorns or nails. However, they are less reliable for the larger cuts and gashes caused by urban glass debris. A failed plug can result in a rapid loss of air and a messy situation as sealant sprays from the tire. If the plug fails, the rider must then perform a full tube installation anyway, but now has to deal with a tire interior coated in sticky sealant. This introduces a significant element of unpredictability.
For an e-bike with a rear hub motor, removing the wheel is already a more involved process due to motor cables and axle nuts. An experienced commuter on an electric bike forum found that while tubeless plugs were fast for minor issues, the 15-minute roadside tube swap was a more predictable and ultimately reliable process for all types of flats. Knowing that a tube swap will work every time is often more valuable than gambling on a 2-minute plug that might fail, especially when being on time is critical.
This doesn’t mean tubeless has no place, but for the average commuter prioritizing absolute reliability, a high-quality tire like a Marathon Plus combined with a standard inner tube and the knowledge to swap it quickly provides the highest level of predictable uptime. The system is simpler, the failure modes are better understood, and the repair process is guaranteed, if methodical.
Key Takeaways
- The true cost of a tire includes lost time and e-bike range, not just the purchase price. A single avoided flat can justify the premium.
- Integrated puncture protection (SmartGuard) is demonstrably more reliable for urban hazards than aftermarket tire liners, which can introduce their own failure modes.
- Proper tire pressure is the most critical factor for preventing both range loss and pinch flats. A weekly check is non-negotiable.
The 15-Minute Weekly Inspection Routine That Prevents 80% of Roadside Breakdowns
The ultimate strategy for ensuring predictable uptime is not to become an expert at fixing flats, but to prevent them from happening in the first place. The $50 investment in a premium tire is only part of the equation; the other part is a small investment of time. A disciplined, 15-minute weekly inspection routine is the most powerful tool a commuter has to virtually eliminate roadside surprises.
The vast majority of tire failures do not happen suddenly. They are the result of small problems left unaddressed: a tiny shard of glass working its way through the tread, a slowly leaking valve, or a sidewall bulge from a previous impact. By systematically checking the bike’s key systems once a week, you can catch these issues before they become ride-ending failures. Maintenance studies confirm that regular 15-minute weekly inspections reduce roadside mechanical failures by up to 80%. This is an incredible return on investment for a commuter.
This routine goes beyond a simple thumb-press on the tire. It involves a tactile and visual inspection of the entire system, from the tire surface to brake pads and bolt torque. It’s about developing a mechanical empathy for your vehicle and understanding its state of health. Committing to this process transforms the relationship with your bike from one of reactive crisis management to proactive reliability engineering.
- Minutes 1-3: Tire Pressure Check. Use a proper gauge. This is the single most important step.
- Minutes 4-6: Debris Inspection. Run a gloved hand carefully over the entire surface of both tires, feeling for embedded glass, metal shards, or thorns that haven’t yet caused a full puncture.
- Minutes 7-8: Sidewall & Wear Check. Visually inspect the tire sidewalls for cracks, bulges, or unusual wear patterns. Check the tire’s wear indicators.
- Minutes 9-10: Brake Inspection. Check brake pad wear and ensure the brakes are properly aligned and not rubbing on the rim or rotor.
- Minutes 11-12: Drivetrain Check. Verify chain tension is correct and that the chain is clean and properly lubricated to prevent excess wear and noise.
- Minutes 13-14: Bolt Check. Quickly test the critical bolts—axles, stem, seatpost—to ensure they are snug. Do not over-tighten.
- Minute 15: Wheel Spin. Lift each wheel and spin it to check that it runs true (without wobbling) and that there is no brake rub.
This routine is the cornerstone of a reliable commuting system. It ensures your initial investment in quality components like Schwalbe Marathon tires is not wasted through neglect.
Frequently Asked Questions about E-Bike Tire Repair
What’s the fastest roadside repair for a rear hub motor wheel?
A tube swap remains the fastest and most reliable method, typically taking 10-15 minutes for someone familiar with the process. While patching seems simple, finding the tiny hole and ensuring the patch holds under pressure often takes longer and risks re-failure, wasting precious commute time.
Can I use a tubeless plug on a tire with a tube as an emergency repair?
Yes, this is an advanced “get-home” trick. In an emergency, you can use a tubeless plug to seal a puncture through both the tire and the inner tube. It is not a permanent fix, but experienced riders report successfully using this method to quickly make the bike rideable enough to reach home or a bike shop without removing the wheel.